
What Are Website Forms?
Website forms are digital tools used on websites to gather information from visitors .
They usually consist of fields like text boxes, checkboxes, and dropdown menus that users fill out. The information collected can be anything from personal details to feedback and reviews. Forms are simple to fill out and are often used for actions like signing up, purchasing, or contacting a business.
Types of Website Forms
There are different ways to customize web forms to work efficiently for various purposes. Some of the most popular ones are:
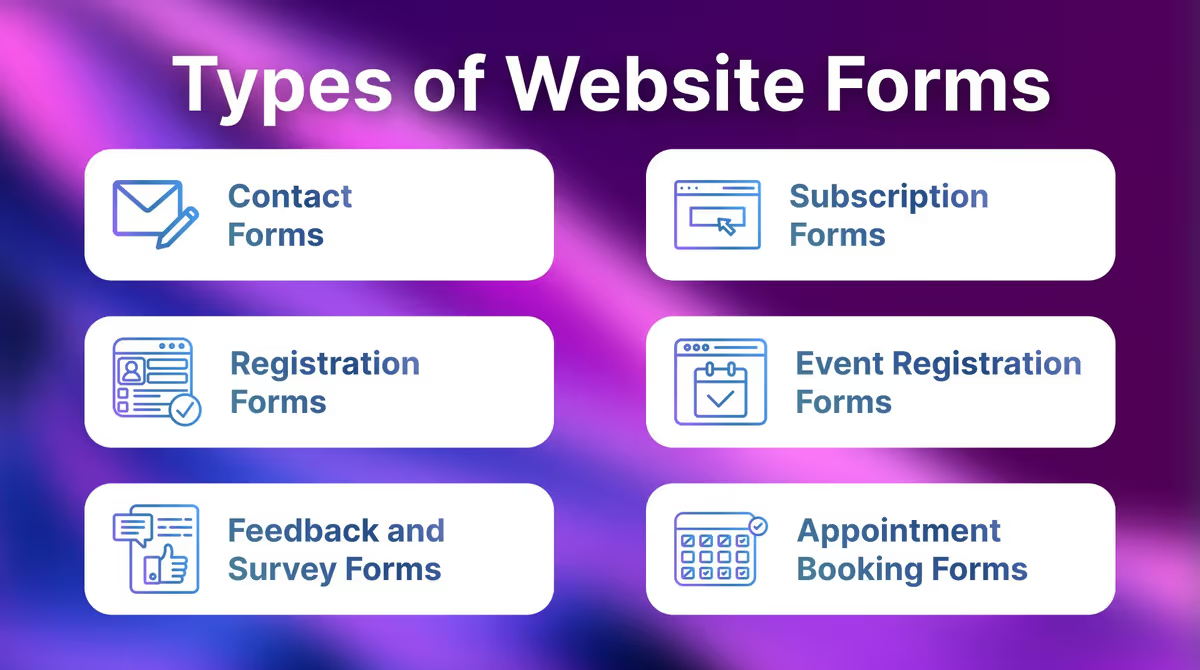
Contact Forms
If you're looking for a simple way for visitors to reach out, contact forms are a must. They typically include fields for a name, email, and a message. These forms give customers a quick way to ask questions, seek support, or provide feedback. Whether someone needs help or just wants to drop a note, contact forms make communication smooth and easy.
Registration Forms
Want users to sign up for your website or service? Registration forms are the key here. They collect basic details like name, email, and a password, allowing users to create accounts. These forms are essential for giving your customers access to exclusive content or features. Once they fill it out, they’re all set to engage with your site.
Feedback and Survey Forms
Feedback and survey forms let users share their opinions on products or services. These forms usually involve simple questions or ratings, which help you understand customer satisfaction and areas for growth. Use this data to refine your offerings and build stronger relationships with your audience.
Subscription Forms
If you want to keep customers in the loop with your latest updates, offers, or newsletters, subscription forms are key. They’re usually short and ask for just an email address, making it easy for users to stay connected with your business. Keep your audience engaged and informed by offering valuable content directly to their inbox.
Event Registration Forms
These forms gather details like attendee names, contact information, and preferences. Some forms also include checkout features for ticketed events or additional services. Event registration forms streamline the signup process, ensuring attendees have a seamless experience while organizers efficiently manage participant information.
Appointment Booking Forms
Perfect for service-based businesses like salons, clinics, or consulting firms, appointment booking forms allow users to schedule services at their convenience. These forms typically include fields for selecting dates, times, and services, as well as contact details. Integrating real-time availability can make the booking process even smoother.
Why Use Website Forms?
For example, a clothing store might use a contact form to answer customer inquiries, while an online service provider might use a registration form to create accounts for new users.
Forms allow businesses to interact with their customers directly and make things like signing up, purchasing, or getting support quick and easy. They're used in many industries, including e-commerce, healthcare (for patient registrations), education (for course sign-ups), and hospitality (for booking forms).
Simply put, forms are a vital part of collecting the information you need to run your business smoothly and keep your customers happy. Moreover, a website with a better form system will attract more users compared to one with a less organized form structure.
Best Practices for Using Website Forms
To make sure website forms are effective and user-friendly, follow these tips:
- Keep It Simple
Only ask for the information you really need. Don’t overwhelm users with too many fields—this can lead to frustration and abandoned forms.
- Make It Easy to Find
Place forms where users expect to see them. Contact forms should be in obvious places like the footer or a dedicated "Contact Us" page, while checkout or registration forms should be easy to access during the purchase process.
- Be Clear with Labels
Use clear and simple labels for each field so users know exactly what information to provide. If needed, add a short description or example to guide them.
- Use Progress Indicators
If your form is long, break it into sections and include a progress bar. This helps users see how much they’ve completed and how much is left.
- Test for Mobile
Make sure your forms are mobile-friendly. Many users access websites from their phones, so forms should be easy to fill out on smaller screens.
- Provide Clear Call-to-Action (CTA)
Your submit button should stand out and clearly indicate what will happen next, such as "Submit," "Sign Up," or "Complete Purchase."
- Be Transparent About Privacy
Let users know how their information will be used and reassure them it will be kept safe. A link to your privacy policy should be easily accessible.
- Use Captchas Sparingly
While captchas can prevent spam, don’t use them on every form. Only use them where necessary to avoid frustrating users.

Ways to Create Forms on Your Website
You should start thinking about adding forms when your website needs a way to interact with users, like handling customer inquiries, registrations, or payments. Forms are a great way to make these processes easier for both you and your customers.
The good news? There are several easy ways to add forms to your website!
Using Built-In Form Builders
Many website platforms, like WordPress or Wix, come with built-in form builders. These tools make it simple to create forms without needing to write a single line of code. You can find them directly within the website builder's dashboard.
Once you locate the form builder, it’s just a matter of choosing the type of form you want, adding the fields you need (like name, email, or message), and then embedding it into your site. These tools usually offer templates, so you can create professional-looking forms quickly and easily.
Custom-Coding Website Forms
If you have a specific need or want more control over the design and functionality of your forms, custom coding might be the way to go.
Custom coding means writing the HTML, CSS, and possibly some JavaScript to create a form exactly how you want it. This process often involves additional logic or backend work in most cases. While this option gives you more flexibility, it’s best handled by a web developer or someone with coding experience. Custom-coded forms are ideal for when you need something unique or complex. When implemented correctly with the help of developers, they also can make the process smoother, faster, and simpler for admins.
However, for most small businesses, built-in form builders are usually more than enough.
Using Extensions to Create Forms
Extensions are add-ons or plugins that you can install to your website to create forms with even more advanced features.
For example, you can use our free Profstep Magento Extension to easily build and customize forms on your site. You can find extensions like this on the platform’s marketplace or extension directory. Installing an extension is usually straightforward—just follow the prompts in the extension directory. Extensions are great if you need more than the basic forms but don’t want to go down the custom-coding route.
Each method has its pros and cons, but for most website owners without IT knowledge, starting with a built-in form builder or an extension like Profstep Magento Extension is usually the best and easiest option!
How to Add the Free Profstep Extension to a Magento Website
Adding the Profstep QuickForms Extension to your Magento website is a simple way to create custom forms quickly and easily. Whether you want to improve customer communication, collect feedback, or process inquiries, this extension provides a user-friendly solution that doesn’t require coding skills.
Overview of the Profstep Extension
The Profstep QuickForms Extension is designed to help merchants build forms and surveys effortlessly. It offers features such as:
- Quick form management on a single page without reloads.
- Dynamic fields and fieldsets for easy customization.
- Multiple display options : popup, sidebar, or integrated forms.
- Efficient response management , with responses displayed clearly in the admin panel.
That’s why this extension is perfect for businesses needing an affordable and efficient way to maintain close contact with customers.
Steps to Install the Profstep Extension
- Check Requirements :
Ensure the ProfStep_Core module is installed and enabled in your Magento store. Without it, the extension won’t work.
- Download the Extension :
Obtain the Profstep QuickForms Extension from the official Magento marketplace or your trusted provider.
- Install the Extension :
- Upload the extension files to your Magento installation.
- Use Magento’s setup commands to enable the extension.
- Verify Installation :
- Log in to your Magento Admin Panel.
- Navigate to Content ➔ Quick Forms ➔ Forms to ensure the module is installed and ready.
Configuring and Customizing Forms with Profstep
After installation, you can easily set up and personalize your forms. Here's how:
- Create a New Form :
Go to Content ➔ Quick Forms ➔ Forms List and click “Add New Form.” Use the one-page management system to add fields, labels, and success messages without navigating multiple pages.
- Customize the Form Appearance :
- Choose from display options like popups, sidebars, or inline forms.
- Enable features like label animations and “show password” buttons for a polished user experience.
- Set Advanced Options :
Configure email notifications for form submissions. Set up templates for admin and customer emails to stay informed.
- Display the Form on Your Website :
- Use Magento’s widget system to place the form wherever you want—home page, product pages, or popups.
- Navigate to Content ➔ Widgets ➔ Add Widget , then select the form you’ve created.
- Manage Responses :
Responses are stored in Content ➔ Quick Forms ➔ Responses , where you can review, organize, and export data as needed.